~~~~~~~~~~~~~~~~~~~~~~~~~~~~~~~~~~~~~
Time to take advantage of my yearly dockyard ticket, this time with a visit to
HMS Warrior which I don't think I've been on in over 20 years.. I seem
to remember the last time might have been either a wedding reception or a
charity dinner (either of which you can host on the ship) given by the
hospital that the current Mrs Steve the Wargamer worked at.. anyway,
more than long enough since I've been on board this awe inspiring piece of
naval architecture.. she is utterly magnificent (piccie following) and
dominates the entrance to Portsmouth Harbour - you can't help but notice
her!

Anyway - brief history/summary, Warrior is a 40-gun, steam-powered, armoured
frigate built between 1859 & 1861. What I didn't appreciate before this
visit was that Warrior was a class of warship and she also had a sister ship
HMS Black Prince. They were the first armour-plated, iron-hulled, warships
ever built, and were a response to France's launching in 1859 of the "Gloire"
(and two sister ships). Gloire was the first ever ocean-going ironclad
warship, but wooden-hulled... the Royal Navy clearly couldn't leave that
unchallenged , and besides, didn't have anything that could match in terms of
firepower and more importantly protection* so Warrior and Black Prince were
ordered in a hurry... 😀
*(it really did cause almost a national emergency - sparked a massive invasion
scare, and a lot of the fortification building that subsequently happened was
also because of it)

|
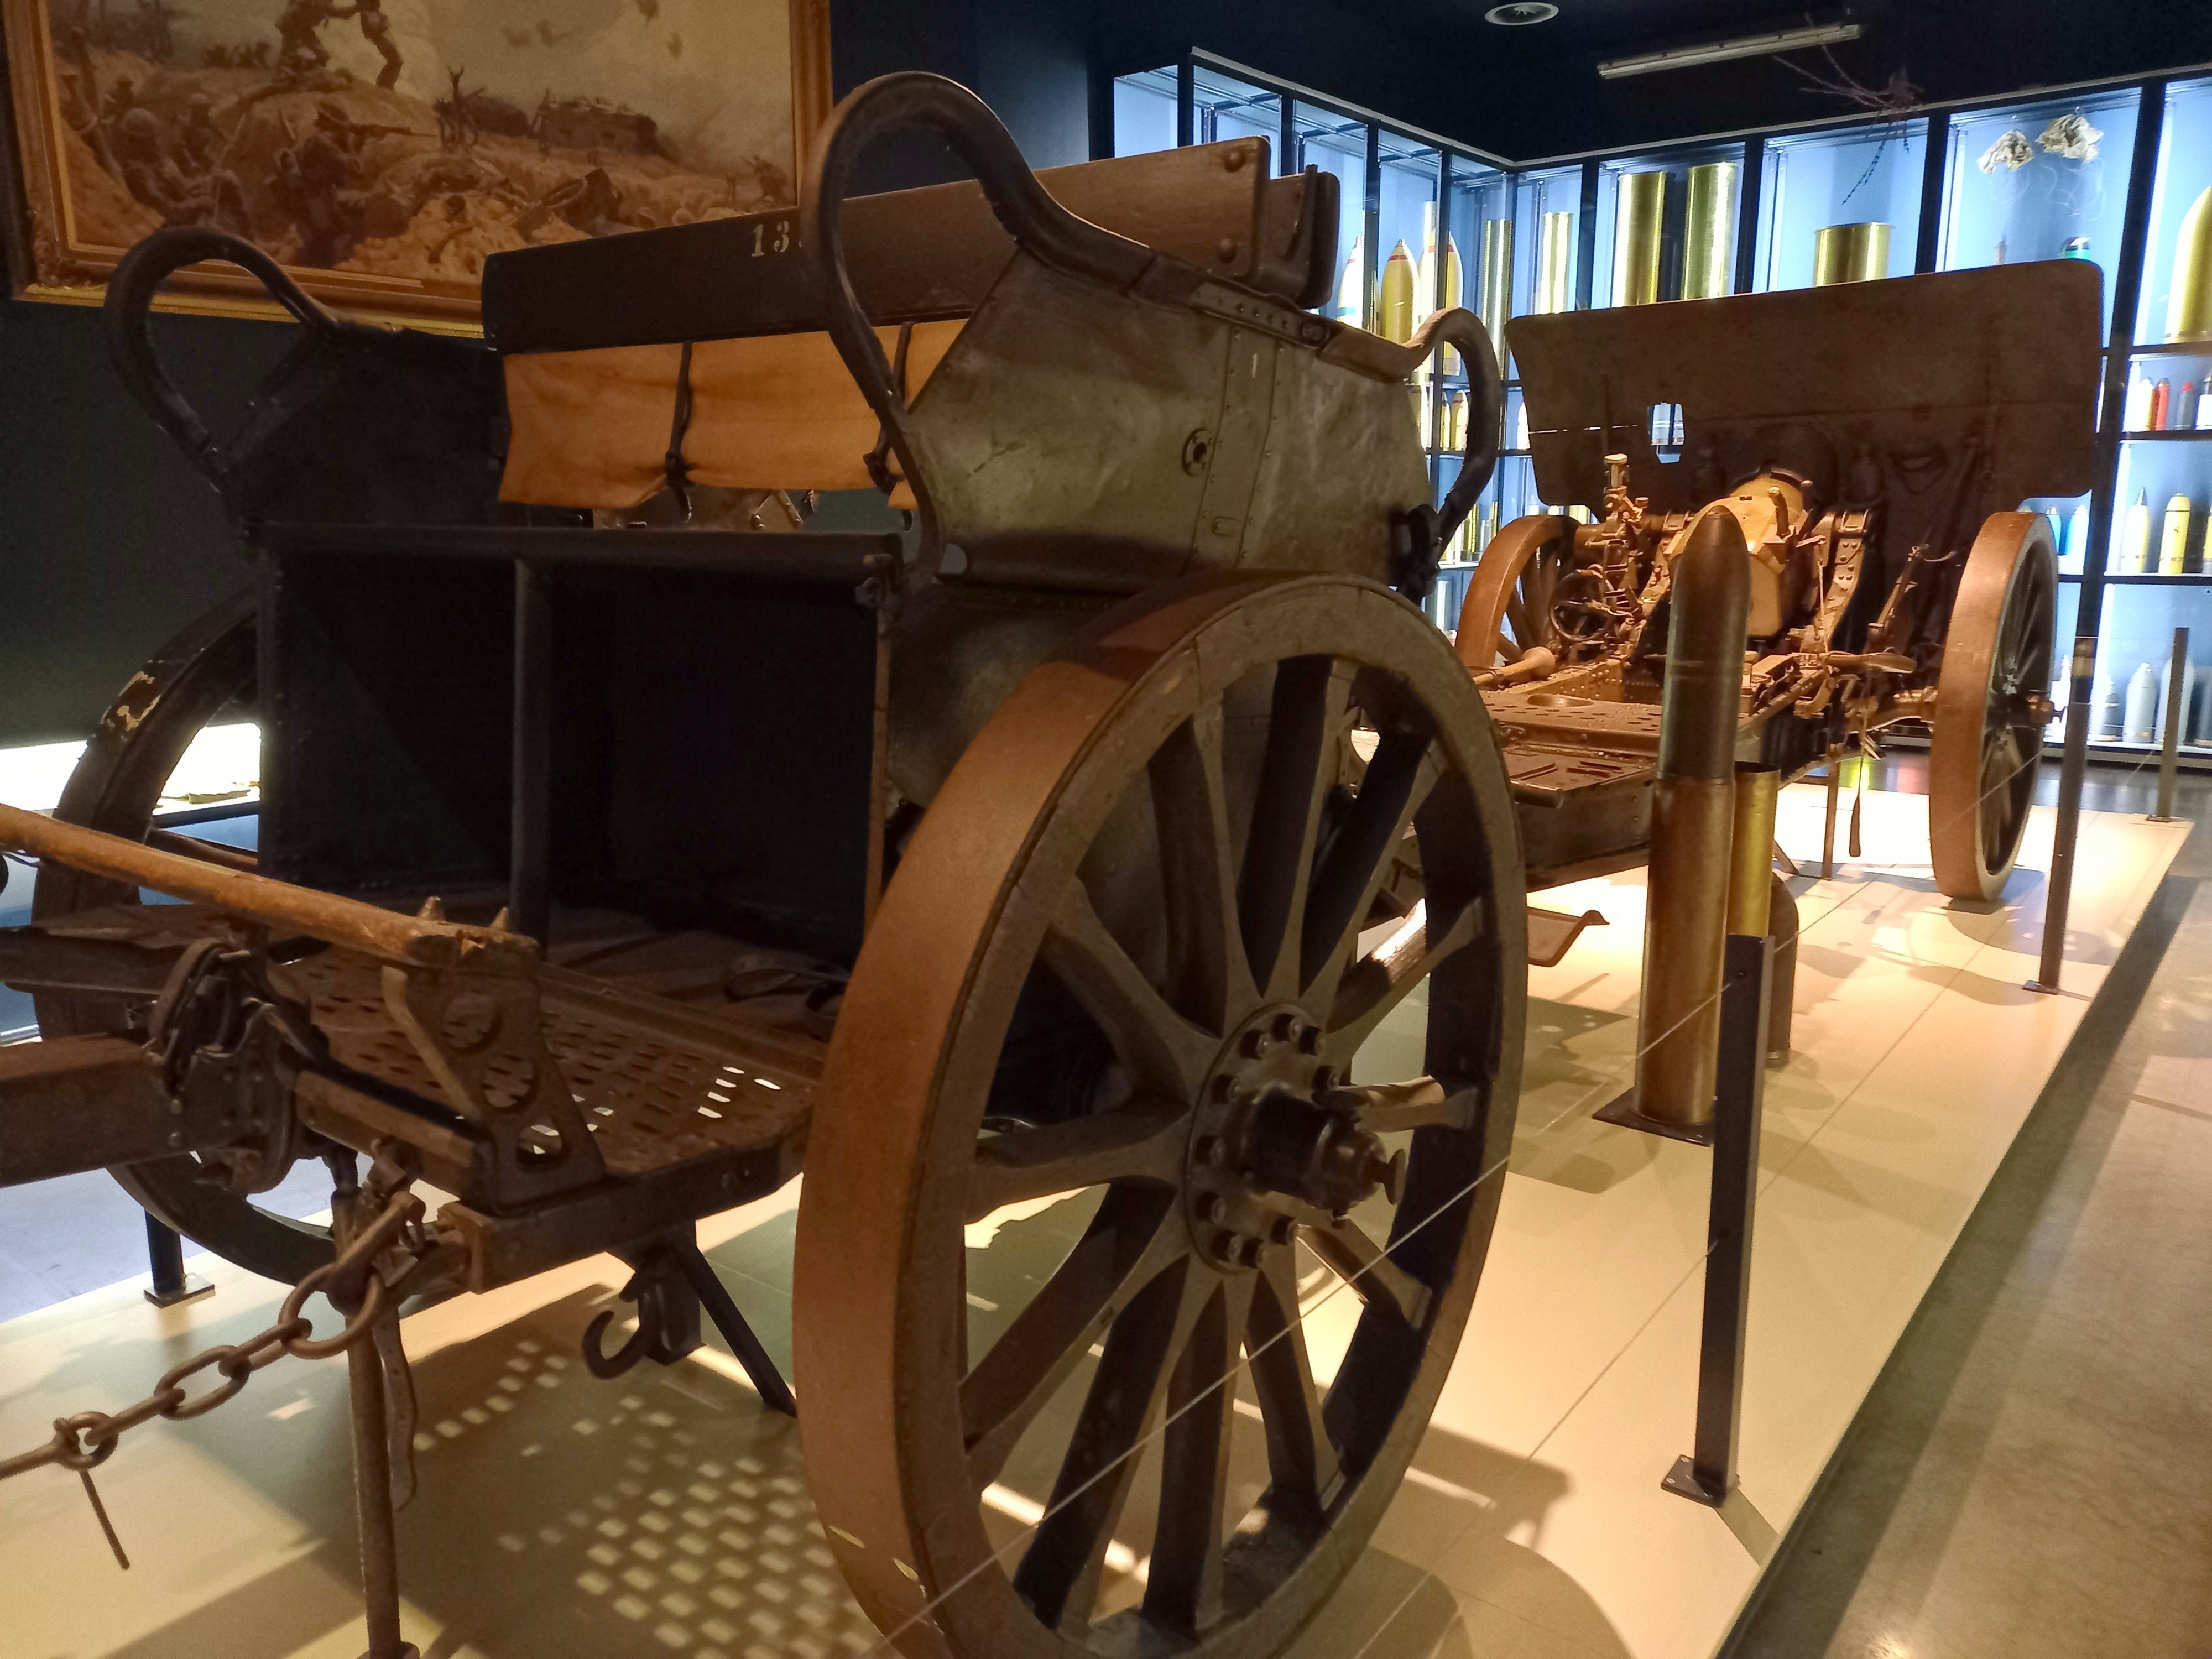
| Unless I'm mistaken this would have been one of the four Rifled breechloading 40-pdr's - I was much taken with the attached caisson - clearly it could be moved and used wherever required... |
- 26 × Smoothbore muzzle-loading 68-pdr (206 mm) guns (and consider that only 50 years before, the largest gun on HMS Victory would have been 32pdr)
- 10 × Rifled breechloading 110-pdr (178 mm) guns
- 4 × Rifled breechloading 40-pdr (121 mm) guns
Despite being the most powerful ship afloat at the time - she never fired in
anger - she was the atom bomb of her day, a deterrent..

|
| Bow chaser - one of the Rifled breechloading 110-pdr's I think |

|
| I can confirm it is real (not a fibreglass or wooden copy), and a feel inside the barrel showed it was rifled.. 😏 |

|
| I was massively taken with the bronze tracks on the deck - they would have been used to protect the deck during recoil, but more to assist with the laying of the gun - moving it from side to side for aiming |

|
| Stern chaser - details as per the bow chaser |
She would have had a crew of just over 700 men (including officers) and I
confirm that there were multiples of these (following) scattered around the
ship

|
| 1858 Enfield rifles, with bayonets - I believe the rifles are replicas (there are a lot of them so I'm not surprised!) but that the bayonets may be original |

|
| 1851 Navy pattern Colt revolvers - these are replicas, but the originals would have been made by the Samuel Colt Armoury in London. The stand is a ready use "crocus" weapon rack - there were two or three of these scattered round the ship - there was also a pistol next to every gun on the gun deck for use in the event of boarding.. |
...and then the piece de resistance.. my favourite part of the ship, the main gun deck.. it's difficult to show how light, open, and airy this space is compared to Victory - good standing head room, plenty of space between each gun, but a sailor on Victory would have felt quite at home on Warrior I think - the guns may be bigger, but the loading process is similar, the 'messing' arrangements are the same - tables between the guns for 18 sailors (the mess) who basically lived as a small sub unit of the crew in terms of rations, drink, socialising, etc. Men each mess would take it in turns to be mess cook- this job entailed collecting the food for your mess for each meal, taking it to the galley to be cooked, bringing it to the mess table and dolling it out fairly. They also slept between the guns in hammocks - 18" of shoulder room only..

|
| Thirteen 68pdrs leading off into the distance.. same on the other side.. |

|
| ...with a 110 pdr rifled breech-loader at each end for a bit of extra oomph.. 😏 |

|
| Better view of the mess living space.. note also that the Royal Navy muzzle loaders are now largely recoil-less and the carriages don't have wheels - basically they have a massive iron pin at the front which attaches the gun directly to the ship - any recoil is thus absorbed by the ship.. |
So how fast was she? In addition to the sails she carried on the main masts, she also had a two-cylinder trunk steam engine, made by John Penn and Sons, using steam provided by 10 rectangular boilers to drive a single propeller. During sea trials in 1868 she got up to just over 14kn's - she carried enough fuel (coal) to steam just over 2000 nm at 11 kn. She could do 13 kn's just under sail alone - and the propeller could be raised to reduce drag while sailing (though it took 600 men to do it as the thing was damn heavy!) To further reduce drag, her funnels were telescopic and could be lowered.
Under sail and steam together, the ship once reached 17.5 kn against the tide
while running from Portsmouth to Plymouth

|
| Two cylinder steam engine.. |
Last of all this was what made her the wonder of the age that she was.. the armoured "belt" on Warrior

|
| 4" of hammered wrought iron armour plate facing.. |

|
| ..with 18" (!) of teak backing.. |
Fantastic ship - but like the Hilsea Lines she had SUCH a short shelf life
and all due to the sheer speed of technological advance at the time - so
commissioned in 1861, she went on a public relations cruise around the UK in
1863 (to show the flag and also to train up the crew in an entirely new kind
of ship) before joining the Channel Squadron as flagship.
She began a refit in November 1864 and was recommissioned in 1867.
In 1871 however, the Royal Navy commissioned its first mast less capital
ship, HMS Devastation (from lessons learned during the American Civil War,
and especially the turreted Monitor) and shortly after Warrior went in to
second line/reserve (after just 10 years!). She was classified a hulk in
1900. After that she was the unglamorous maid of all sorts..
- The ship was used as a storage hulk from May 1901 to July 1902.
- In preparation for service as a depot ship for a flotilla of destroyers, the ship had her engines and boilers removed and part of her upper deck roofed over.
-
In March 1904, she was assigned to the Portsmouth-based Vernon, the
Royal Navy's torpedo-training school and was renamed Vernon III in
order to release her name for a new armoured cruiser HMS Warrior. New
boilers and electric generators were installed so that she could
supply steam and electricity to the neighbouring hulks that made up
Vernon.
+starboard+quarter.jpg)
..as Vernon III..
- In October 1923, the school was transferred to a newly built shore installation, rendering Warrior and her companion hulks redundant; Warrior resumed her name (the battle cruiser had sunk) but the Royal Navy declared her redundant six months later.
- due to the number of ships being scrapped after WW1 there was no demand for scrap iron when the Navy decided to sell her off, so she remained in Portsmouth for another four years being modified into a mooring jetty in 1927.
- Her new home was Pembroke Dock in Wales, where from 1929 she served as a floating oil jetty for the next 50 (!) years
-
During World War II she served as a base ship for coastal minesweepers
and renamed Oil Fuel Hulk C77 to release her name for use by a light
aircraft carrier, HMS Warrior, then under construction.

Oil Fuel Hulk C77.. 😞
+starboard+quarter.jpg)

Unglamorous then, but the very utilitarian nature of the service she did after decommission is exactly what saved her.. she was also lucky, as Black Prince was scrapped in 1923.
Brilliant day out - very much recommended for a visit..
Further references and reading:
~~~~~~~~~~~~~~~~~~~~~~~~~~~~~~~~~~~~~
Laters, as the young people are want to say...