So first off, the table, and this:
 |
| © Rob Grace 2010 |
 |
| White pins mark the deployment area's |
Rear-guard/American
| Hohenzollern DR 1 officer / 12 troopers | 4th Dragoons (Bases 37 and 38) |
| Max Josef IR 3 officers / 40 soldiers | Green Mountain Boys - 1st Battalion (1 and 2) Green Mountain Boys - 2nd Battalion (3 and 4) |
| Field Artillery 2 guns, 1 officer / 10 gunners | New York Artillery - Light (27) |
| TOTAL 69 figures (50% = 35 figures) | TOTAL: 20 SP's |
Advance Guard/British and Hessian
| Birkenfeld CR 2 officers /16 troopers | 16th Light Dragoons (Bases 24 and 25) |
| Hoch und Deutschmeister IR 2 officers / 32 soldiers | Brunswick Jaegers (3 and 4) Brunswick Battalion von Barner (8 and 9) |
| Field Artillery 2 guns, 1 officer / 10 gunners | New York Loyalist Artillery - Light (21) |
| TOTAL 65 figures (50% = 33 figures) | TOTAL: 20 SP's |
...becomes this:
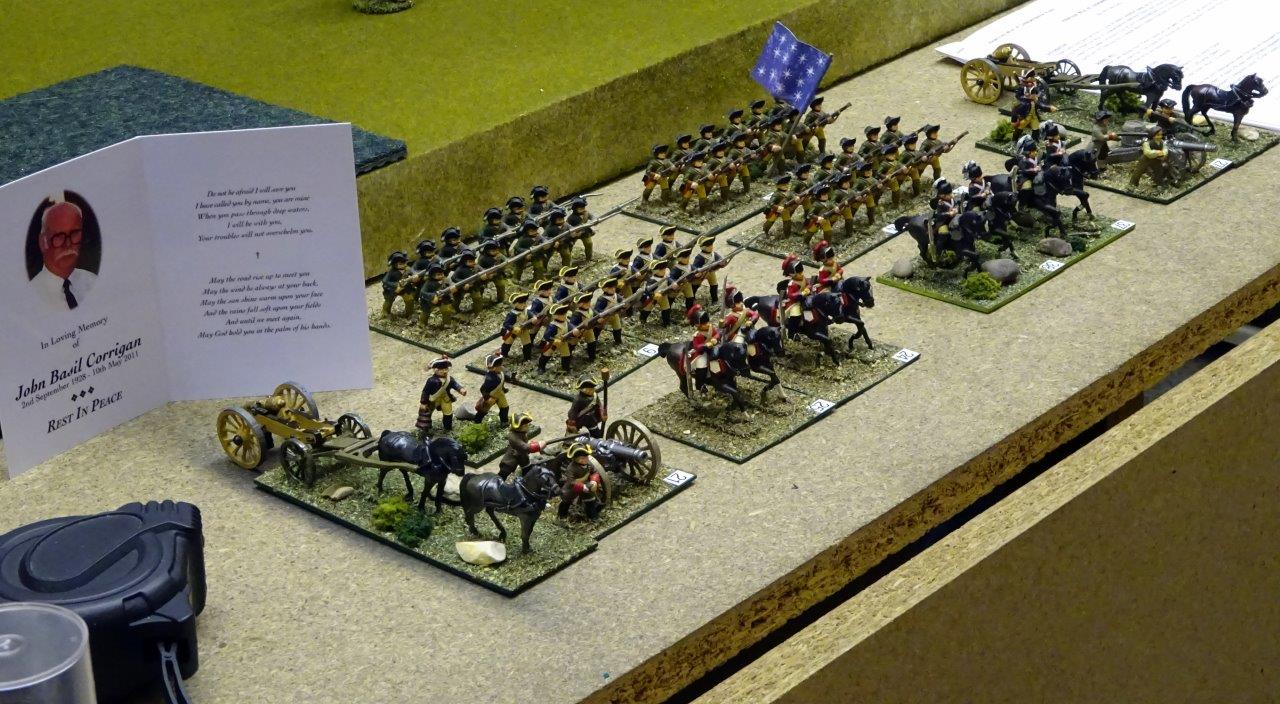 |
| Minifigs delicious'ness with Lofty C looking on.. Americans in the distance, British and Hessian closer.. |
With such small forces, we ended up playing the game twice, and DG won both, but I think it's safe to say the second game was closer as it went all the way to the wire... 
First game:
I am attacking from the left and have started aggressively... my infantry is attacking along the left bank of the river, while the Dragoons are advancing past the bridge on the right - this will be about move 2 or 3... DG has made the tactically sound decision to deploy his artillery from move 1 and they are already firing... I'm wasting time bringing the gun forward for no good reason!
 |
| Damn sightsee-ers on the river again! |
Sharp clash between opposing cavalry saw the 16th see off the Continentals nicely (they subsequently routed from the field) but this was the high water mark for theme/the British...
End game - next - the British cavalry attempted a flank attack across the river on the American artillery, but failed and was sent packing (terminally), the British artillery did too little too late, and DG managed to see of my infantry by judicious use of artillery and musketry.. he has both ends of the bridge and I conceded shortly after this..

...time to crack open an enlivening snifter [clicky] and have another go!
Game 2:
A far more cautious affair..!
I am again attacking from the left, DG on the right.. he has opted to deploy artillery again from start and I have decided to do the same.. these are light pieces so the penalty modifiers over 12" are swingeing, but the opportunity to start firing from move one seems to be a game winner..
You'll note I've massed my infantry on the right.. I plan to use the hill for cover.. my cavalry are facing left - want to see if I can get them in to the cover of the farm with a view to holding that end of the bridge..

...two or three moves later... slowly, slowly, catchee monkey.. DG has the end of the bridge this side.. his artillery have no targets, but my artillery is firing abysmally...
 |
| The Hophead is clearly slipping down nicely... |
What a mistake-a-to-make-a [clicky] as from a position of safety behind the house the 16th LD make a daring flank attack on the Continental cavalry - who simply turn and deal with them!
 |
| Top notch view for the sightsee'ers - British shaken (yellow dice) so no charge this turn, and they are in turn charged themselves.... |
British cavalry were subsequently sent packing (terminally) leaving that bank uncontested, and DG soon brought his artillery up, and sent his infantry over the bridge for the clash that was bound to happen... and throughout all of this the Loyalist artillery continued to bash away without any effect!
 |
| Close up... |
 |
| End Game.. |
Slowly moving my infantry up to the bridge using the hill for cover, but with turn 15 a desperate charge for the bridge was foiled by DG's artillery (now brought up) who successfully managed to cause a morale shake to the Brunswick'ers, and foil my attempt to throw the Green Mountain Boys off the bridge... should have gone for it a move or two earlier!
Cheers, John - and here's to my getting my revenge next year!
Cheers, John - and here's to my getting my revenge next year!


