So as promised in the last post... I was suddenly hit with the need over Christmas for a big game.. I'm really loving the skirmish format with a small table and a dozen units/figures a side, but as a spectacle I guess it's not quite the ticket.. 😁
Having just rebased and reflagged Navarre though, it seemed opportune to get some more of the Marlburian troops on the table, and so was born 'The Battle of Grande Battaglia'. Narrative via the captions on the pictures..
 |
| Start of game - all is quiet as the Allies contemplate the village of Grande Battaglia in front of them - supposedly named after a battle centuries before - are the Allies going to make a 'Blenheim mistake' as per the French at the battle of that name? 😀 |
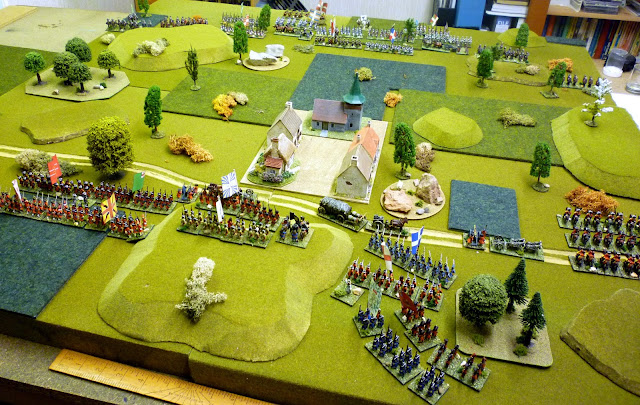 |
| End Move 1 - general advance by both sides.. I purposely loaded the table with both units and terrain so as to provide the maximum amount of friction for the opposing sides (and me) |
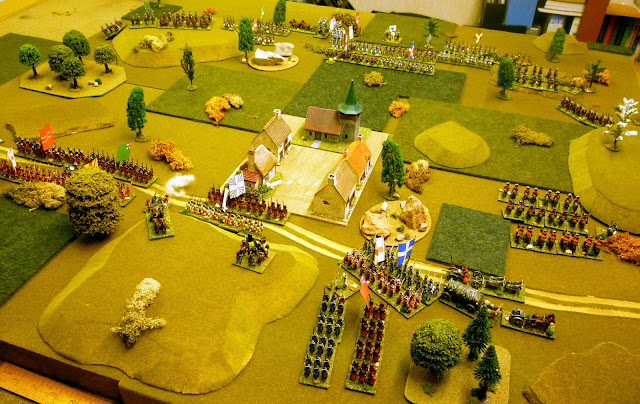 |
| End Move 2 - general advance by both sides continues.. one of the Allied artillery pieces has at last opened fire.. the other is limbered to try and find a better vantage point |
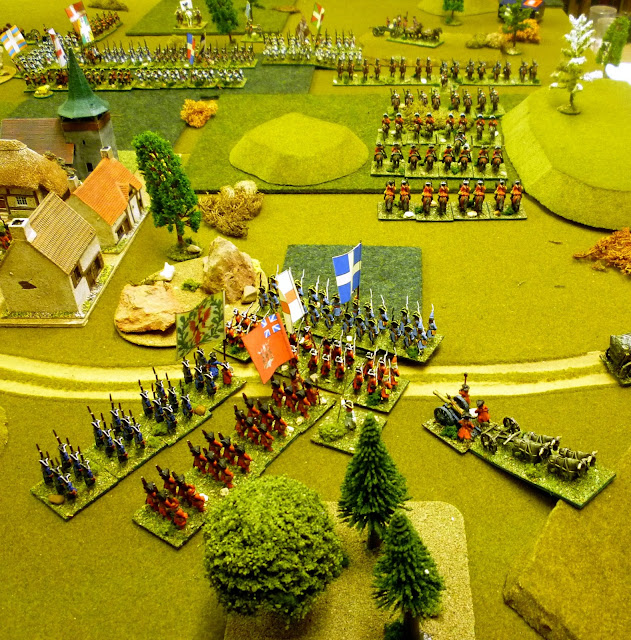 |
| End Move 3 - Allied right flank.. the horse have clashed! |
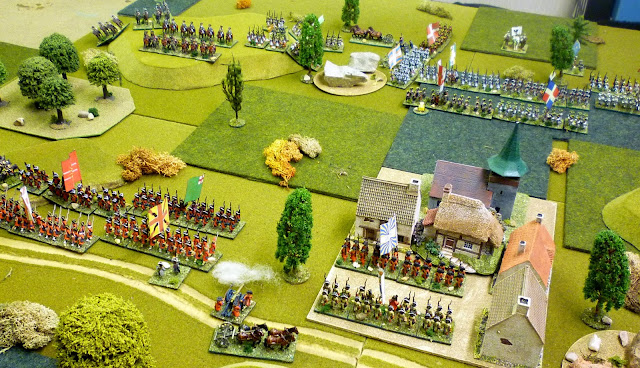 |
| End Move 3 - Allied left flank.. as you can see.. the French are having issues getting manoeuvring room.. that wood (top left) in particular was to provide an irritant for both sides.. |
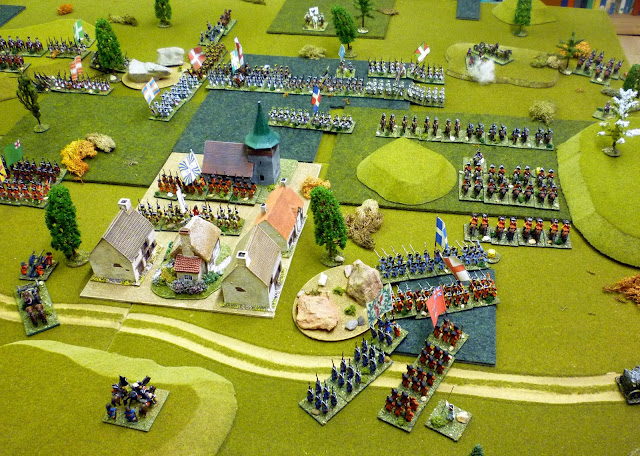 |
| End Move 4 - the Allies have occupied the village with two battalions.. to the right, in the far distance one of the French cavalry regiments has routed.. worryingly, the French cavalry has now managed to deploy two abreast.. they'll get overlap bonuses in any ensuing melee |
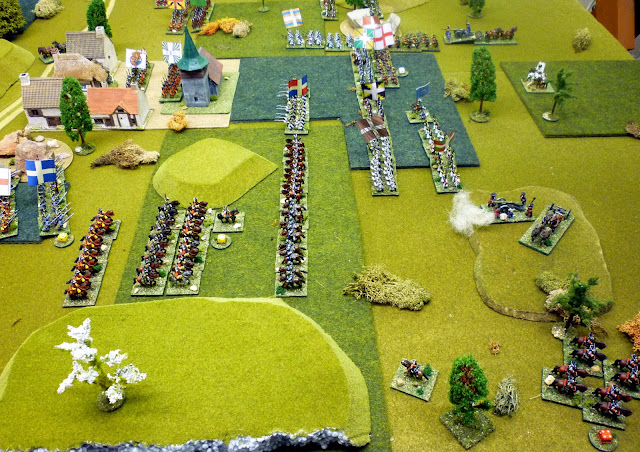 |
| End Move 4 - this time looking across the battlefield.. routing cavalry bottom right.. in the centre that front rank Allied cavalry regiment is shaken - they've been bounced back by the tactically superior French... the advancing French infantry look fearsome! |
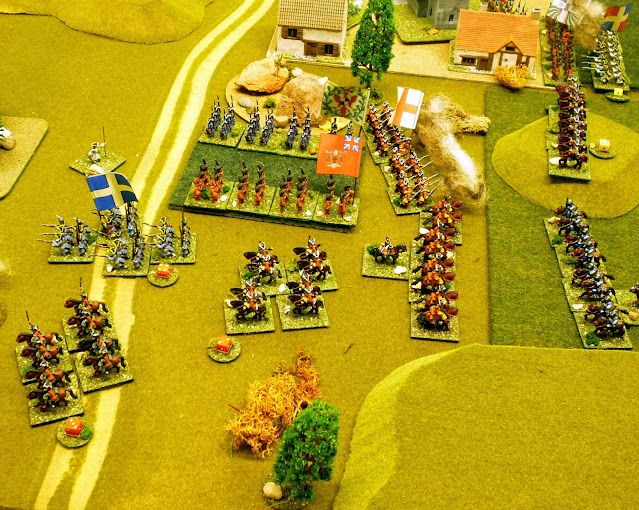 |
| End Move 5 - Allied right flank - boom! The Bavarian cuirassiers have given their lighter opponents a right good hiding.. the Danish (blue flag white cross) have also routed but as a result of poor morale checks following hits from the French artillery.. |
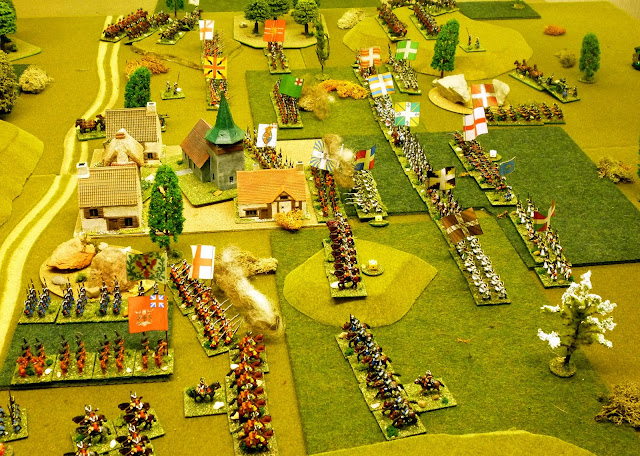 |
| End Move 6 - looking across the table from the Allied right flank... at the village (centre) the French infantry have come to close musketry as they desperately try to close to bayonet.. |
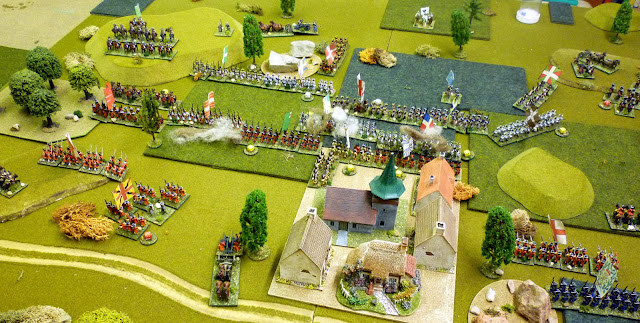 |
| End Move 6 - Allied left flank, and it's all beginning to go pear shaped for the Allies - the French infantry in their centre threw at least a half a dozen 11's (on 2D6) for their firing and Allied regiment after regiment has taken hits and is shaken - note the number of yellow dice - or routing.. |
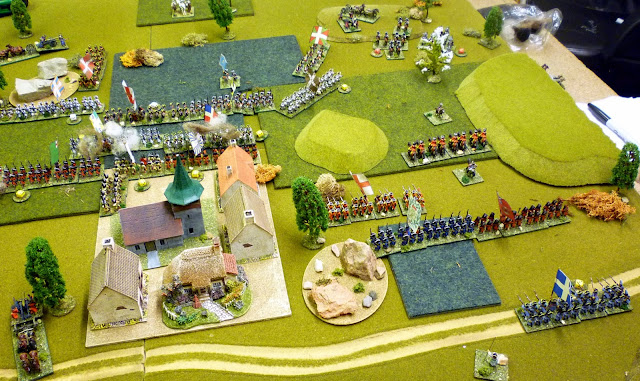 |
| End Move 6 - Allied right flank, and the only good news is that the last remaining Allied cavalry has now seen off the French cavalry.. the French infantry is streaming up so as to close off the threat to that flank that they pose.. |
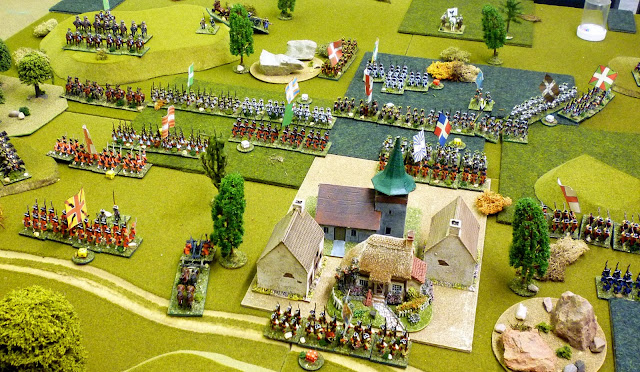 |
| End Move 7 - Allied left flank, have they managed to stabilise the situation?? Things are not good in the village - at least one of the two Allied regiments providing the garrison have been sent packing (bottom centre).. |
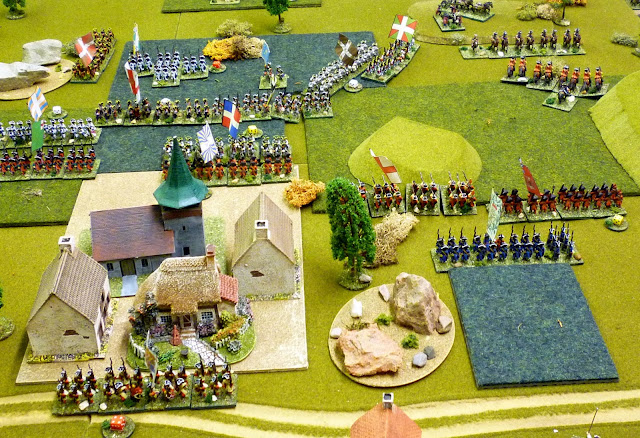 |
| End Move 7 - Allied right flank, and those dastardly cuirassiers have managed to regroup - top right - can they do the damage again!? The fight for the village is going hammer and tongs.. at least once the Allied infantry is driven in and the French come over the wall, only to be expelled in the next phase.. |
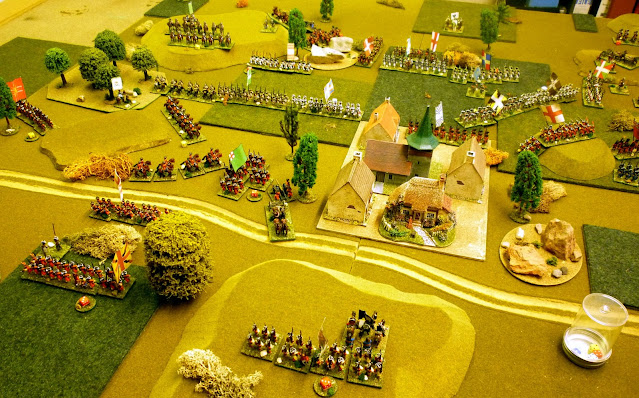 |
| End Move 8 - Allied left flank, and unfortunately it's all fallen apart again - poor morale throws all round (lots of red dice indicating rout) - the Allies are bringing up cavalry (in column) to try and plug the gap |
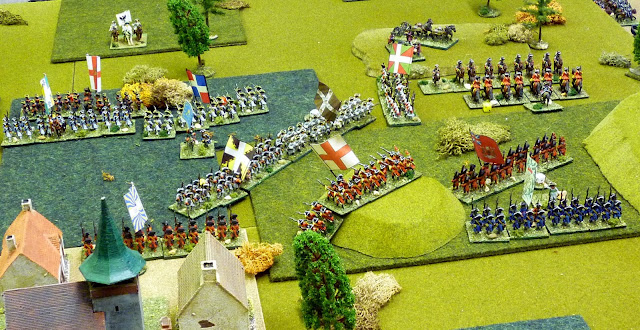 |
| End Move 9 - Allied right flank, and the cuirassiers have finally managed to close with a shaken Allied cavalry regiment - uh oh... the Allied infantry are taking the fight to the French but look at that infantry battalion threatening the flank of the cavalry.. |
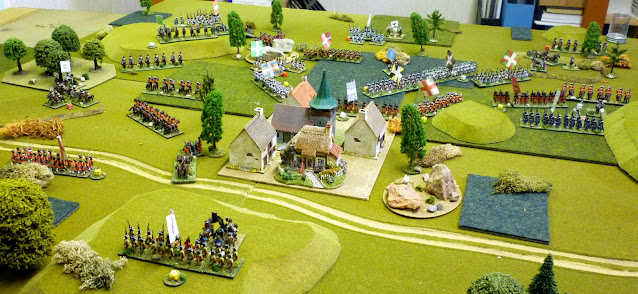 |
| End Move 9 - Allied right flank, success at last! Against all the odds the cuirassier attack failed, and they have broken and run.. it's fairly clear though that the Allies are running out of steam.. and men.. |
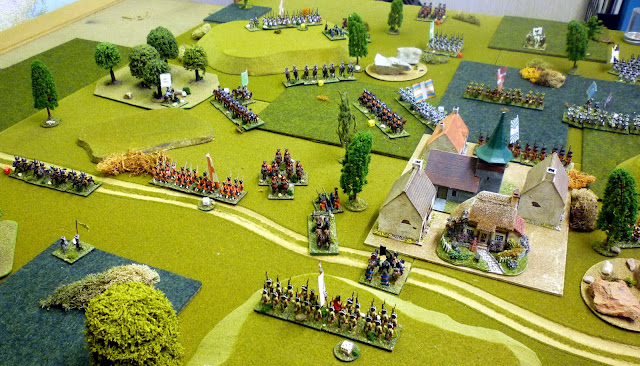 |
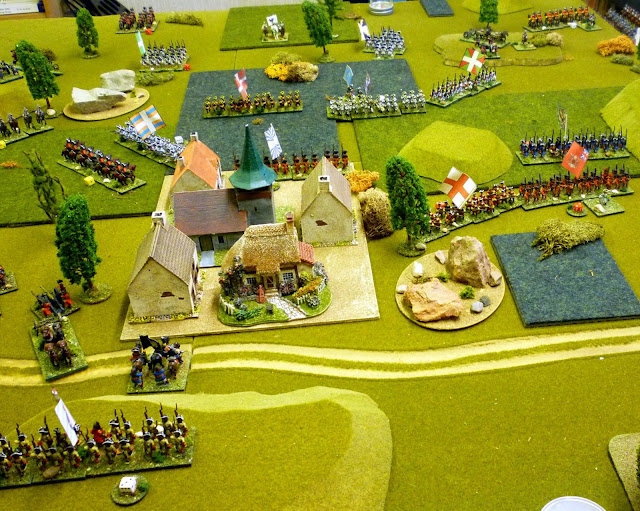
| End Move 10 - Allied left flank, it's all over bar the shouting.. French cavalry are poised to exploit the breakthrough and two thirds of the British cavalry are routing.. |
 |
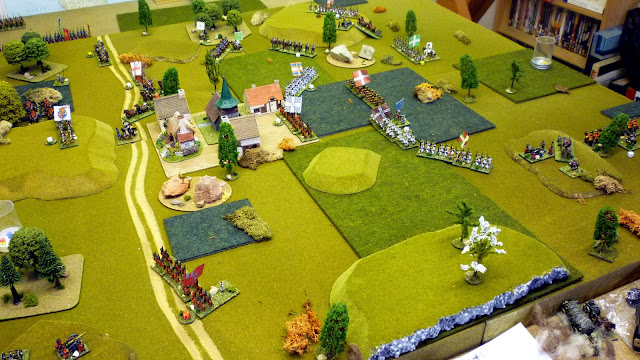
| End Move 10 - Allied centre and right, more stable, but still fragile - some of those battalions are very low on strength but the remaining British cavalry, top right, are about to swing round the back of the hill and into the French rear |
 |
| End Move 10 - all done and dusted - French win.. both Allied flanks have collapsed and the centre is not far from doing the same, though they do still hold the village.. the Allied commander orders his brigades to disengage and fall back on prepared rear positions.. |
Post Match Analysis:- Fun game, but the lack of space to deploy and manoeuvre in definitely caused some interesting tactical decisions to be made.
- On the whole I would say that the French "turned up" for the battle but the Allies were a little, err.. absent minded.. in other words, the French were definitely the masters of the dice for this game.. 😏
- From a starting strength of 90 each, the French ended the game with 41 strength points - of their units left on the table 1 was shaken. This compares with the Allies who ended up with 33 strength points but of the units left on the table 3 were routing, and 1 was shaken. Clear points decision I think...
~~~~~~~~~~~~~~~~~~~~~~~~~~~~~~~~~~~~~
Laters, as the young people are want to say...


Grand looking game and a good win for the French, the Allies had a bad day at the office that's for sure.
ReplyDeleteMorning Donnie - thanks for the comment - they sure did have a bad day at the office.. sometimes with a game you just know one side is battling against the grain..
DeleteThat's a fab looking game!
ReplyDeleteThanks Ray - I use the same (TSS) terrain tiles as Postie so it may look a familiar table.. :o)
DeleteA super game with a really interesting AAR to carry you into the decisive action.
ReplyDeleteThanks David - it was fun - and the troop numbers and terrain were perfect to add some solo "friction"
DeleteThat looks really good Steve. Great fun to play I am sure. Will's rules I assume - they have stood the test of time. Do you use any chance mechanisms for command decisions when you play solo? I also like your little dice holders. When I have used dice as markers they have on occasion tended to be shifted so I think I must buy/make some.
ReplyDeleteMorning Jim - yes, Will's 7YW rules with some modifications for the earlier period but no Solo additions - I've played solo for so long now I just take each side and pretend I'm playing against someone else.. the dice holders were Warbases I think, called dice frames from memory... I use the 6mm ones (as the dice are small), and mount them on pennies for weight/heft
DeleteThank you Steve.
ReplyDeleteSplendid battle and report! It's always good to have plenty of pictures (although can I request a few really close up shots next time, please? I like to see the details of uniforms and flags!). Thanks. :-)
ReplyDelete