With apologies for the quality of some of the pictures - which were taken direct from my Hudl - here's how it unfolded...
Set up - following - Confederate deployment pretty much as it was in the last game.. I have the Zouave's (my "elite" unit) on the front slope of the hill supported by another regiment of infantry (Virginian's, as were all the Confederate foot ... Stonewall Jackson's famous "foot cavalry", but for this game all classed "average")... the Union deployment has that rifle armed regiment to the fore in the centre - supported by another regiment in reserve.. the other regiments were deployed in column on each flank for a little enveloping action... given the Confederate deployment however, I bolstered that flank with the Union Zouave's (Duryee's.. also classed "elite".. all other regiments on the Union side "average")

End of the first move - following - poor Union command roll so only the Rifles, and the right flank have moved.. the Confederates have withdrawn their units behind the brow of the hill in anticipation of the rifle fire (better range than them, so only two options - either come off the hill and attack, or go for cover)

End of second/third (?) move - following - the Union assault on the hill is in progress; having forced the Confederates back by the potential for damage from the longer ranged rifles it gives them an opportunity t get a foot hold on the hill that would be foolish to ignore (the hill is the objective for the game).. to the left other Union column is deploying to protect (one) against the Confederate regiment I have sent to disrupt their activities, and (two) to assault the hill from the flank.. should give the Tigers pause for thought. On the Union right, their Zouave's are charging the guns (I know..not normally a good idea, but I needed to clear it if I could... you can see that one of my regiments already shows the 'red dice of death' marking hits from artillery fire)

A move or two later - following - sorry,, slightly fuzzy.. low command rolls on both sides so not a lot of movement. The Confederate envelopment on the Union right flank is under way - you can see one of the regiments in column going through the woods.. the dice of death are multiplying (once again I used the "Hearts of Tin" rules which calculate casualties in terms of points per base, 3 hits [in this case] and a base is removed, I use the dice to track 1's and 2's that are carried over)

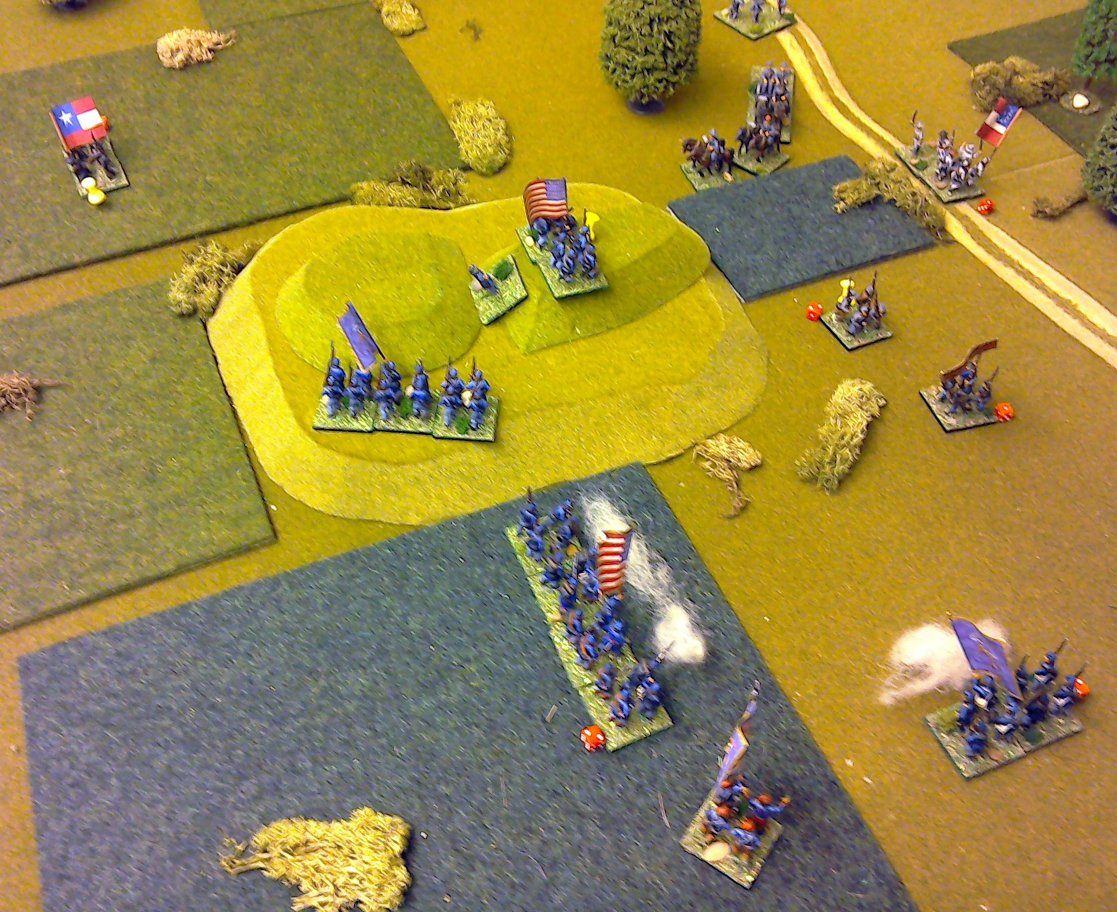
A move or two later - following - sorry,, also slightly fuzzy.. high water mark of the Confederacy. The Confederate force on the hill has thrown the Union troops off in a triumphant assault, but the Zouave's have suffered sorely. The Union Zouave's have destroyed the artillery but were forced to retreat shortly after (bottom right picture) as the result of being charged by the Confederate covering infantry (middle right). Lots of Union yellow pins (they need to rally before being able to do anything else)... the one bright spot is that Union infantry all set and ready to charge the flank of the Tigers... fingers crossed!

So they charged - threw 8 dice, they were hitting on a 4, 5 or 6 and got this
 ==>
==> 
Behind the hill a series of melee's between the two opposing regiments had just ended for the first time with a Union success.. lot of blue in the following....

Can't remember what this was for (
), but I think this was Union firing the same turn - a 3 base unit clearly, they would have been hitting on 5's and 6's.. devastating...
Next move- following - the Confederate flank force, that was marching through the woods, has arrived (too late I feel, poor command rolls blamed) we are lining up for the denouement on the hill. At this point the Confederates were only one or two bases away from a force level morale result..

..but - following - a last desperate charge by the Confederate flanking regiment, and the remaining base of one of the other regiments sees off the Union Zouave's - they are a spent force... in the distance the second melee behind the hill see's Confederate arms triumphant...could this be the turning point? Foreground centre the (full strength) Union rifle regiment makes life awkward for the recently triumphant Confederates. Poor command rolls leave the denouement un-fought (for now).

..end of the game - following - rifle fire has seen off the Confederate flanking regiment, and a massive charge, supported by a second regiment has seen the Confederates bundled off the hill -at this point the Confederate force suffered an army level morale reduction but given the lack of any other cohesive force I decided they had lost anyway..
Post match analysis:
- A hard fought Union victory - they were very lucky with the dice when they needed to be, but their command rolls were fairly appalling. The Confederates also suffered from poor command rolls - which meant their attacks were not quite as coordinated as they might have been...
- Early loss of the artillery didn't help the Confederates.. I did think of deploying the artillery on the hill, that might be an alternative option as the artillery would out range the rifles...
- Butchers bill was fairly close, the Union were about 2 or 3 bases behind the Confederates
Great looking game and was quite a close run thing in the end.
ReplyDeleteRay, it was a bit England Australia... never in doubt after the first 30 or so minutes.. :o)
DeleteOne can never really trust dice can one?
ReplyDeleteI'm glad to see that the 1 hour scenarios csn provide a good game, they looked rather small to me but this eounded about right for a quick game. Ill have to try them.
Ross, I wholeheartedly recommend the book for the scenario's alone... infinitely customisable..
Delete