 Time for the little metal men to march across the table in slightly more
numbers than has been usual recently, and as there's no beating One Hour
Wargames for scenario ideas, and as I also wanted an opportunity to play this
years John Corrigan Memorial Game [clicky]) I opted for the next one in the series, which is #27, "Disordered
Defence"..
Time for the little metal men to march across the table in slightly more
numbers than has been usual recently, and as there's no beating One Hour
Wargames for scenario ideas, and as I also wanted an opportunity to play this
years John Corrigan Memorial Game [clicky]) I opted for the next one in the series, which is #27, "Disordered
Defence"..
In summary, a small attacking army has launched a surprise attack on a (potentially) bigger defending army positioned to protect a cross roads.. the question is can the attacker beat enough of the defending enemy to win the battle before the defenders reinforcements arrive.. 😏
As mentioned this is the Memorial Game so our battle will be set in the American War of Independence using those glorious little metal men that John painted and gifted to me all those years ago. I just have this feeling that this is one of those games where the smaller attacker screams out to be British/Hessian, so they will be the attacker.
Setup:
- Each side was diced for as per the tables in the book, but as the table is 6' x 4' I will roll twice for each side doubling up the numbers.. the only change being to ignore the skirmisher column and substitute regular foot, all artillery will be light.
- All units for both sides get maximum Strength Points/SP's (ie. 6) and are classed as regular with no morale modifiers - there are also no national modifiers, so both sides units are equal in fire/melee...
- The scenario in the book is 15 turns and American reinforcements arrive on turn 8.
- The side occupying the crossroads at the end of the game is the victor.
OOB Blue/Anglo Hessian Attacker:
For the sake of organisation they are divided into two brigades of equal size - each with a Brigadier, and under the overall command of a C-in-C
|
Unit/Base No. |
Notes/ |
MP's |
SP’s |
||||||
|
New York Loyalist Artillery #22 |
Light Art |
0 |
6 |
5 |
4 |
3 |
2 |
1 |
💀 |
|
Brunswick Jaegers #3 & 4 |
Infantry |
0 |
6 |
5 |
4 |
3 |
2 |
1 |
💀 |
|
Brunswick Jaegers #5 & 6 |
Infantry |
0 |
6 |
5 |
4 |
3 |
2 |
1 |
💀 |
|
Battalion von Barner #8 & 9 |
Infantry |
0 |
6 |
5 |
4 |
3 |
2 |
1 |
💀 |
|
New York Loyalist Artillery #2 |
Light Art |
0 |
6 |
5 |
4 |
3 |
2 |
1 |
💀 |
|
17th Foot #36 & 37 |
Infantry |
0 |
6 |
5 |
4 |
3 |
2 |
1 |
💀 |
|
23rd Foot (Royal Welsh Fusiliers) #38 & 39 |
Infantry |
0 |
6 |
5 |
4 |
3 |
2 |
1 |
💀 |
|
71st (Frasers) Foot #40 & 41 |
Infantry |
0 |
6 |
5 |
4 |
3 |
2 |
1 |
💀 |
Red/American Defender:
- Holding Force:
|
Unit/Base No. |
Notes/ |
MP's |
SP’s |
||||||
|
Connecticut Artillery #28 |
Light Art |
0 |
6 |
5 |
4 |
3 |
2 |
1 |
💀 |
|
Green Mountain Boys - 1st Battalion #1 & 2 |
Infantry |
0 |
6 |
5 |
4 |
3 |
2 |
1 |
💀 |
|
Green Mountain Boys - 2nd Batt #3 & 4 |
Infantry |
0 |
6 |
5 |
4 |
3 |
2 |
1 |
💀 |
|
New York Regiment #9& 10 |
Infantry |
0 |
6 |
5 |
4 |
3 |
2 |
1 |
💀 |
|
9th Pennsylvania Regiment #11 & 12 |
Infantry |
0 |
6 |
5 |
4 |
3 |
2 |
1 |
💀 |
|
1st New York #39 & 40 |
Infantry |
0 |
6 |
5 |
4 |
3 |
2 |
1 |
💀 |
 |
| Americans start deployed in three isolated positions - I opted to put the American gun where it could cover both flanks - it's light but it it has the range.. |
- Reinforcements:
|
Unit/Base No. |
Notes/ |
MP's |
SP’s |
||||||
|
4th Dragoons #37 & 38 |
Cavalry |
0 |
6 |
5 |
4 |
3 |
2 |
1 |
💀 |
|
Lauzun's Legion #43 & 44 |
Cavalry |
0 |
6 |
5 |
4 |
3 |
2 |
1 |
💀 |
|
2nd New York #41 & 42 |
Infantry |
0 |
6 |
5 |
4 |
3 |
2 |
1 |
💀 |
|
Maryland State Marines #24 & 25 |
Infantry |
0 |
6 |
5 |
4 |
3 |
2 |
1 |
💀 |
|
Bourbonnais Regiment (1st. Batt.) #31 & 32 |
Infantry |
0 |
6 |
5 |
4 |
3 |
2 |
1 |
💀 |
|
Saintonge Regiment #47 & 48 |
Infantry |
0 |
6 |
5 |
4 |
3 |
2 |
1 |
💀 |
 |
| The American reserves wait patiently.. |
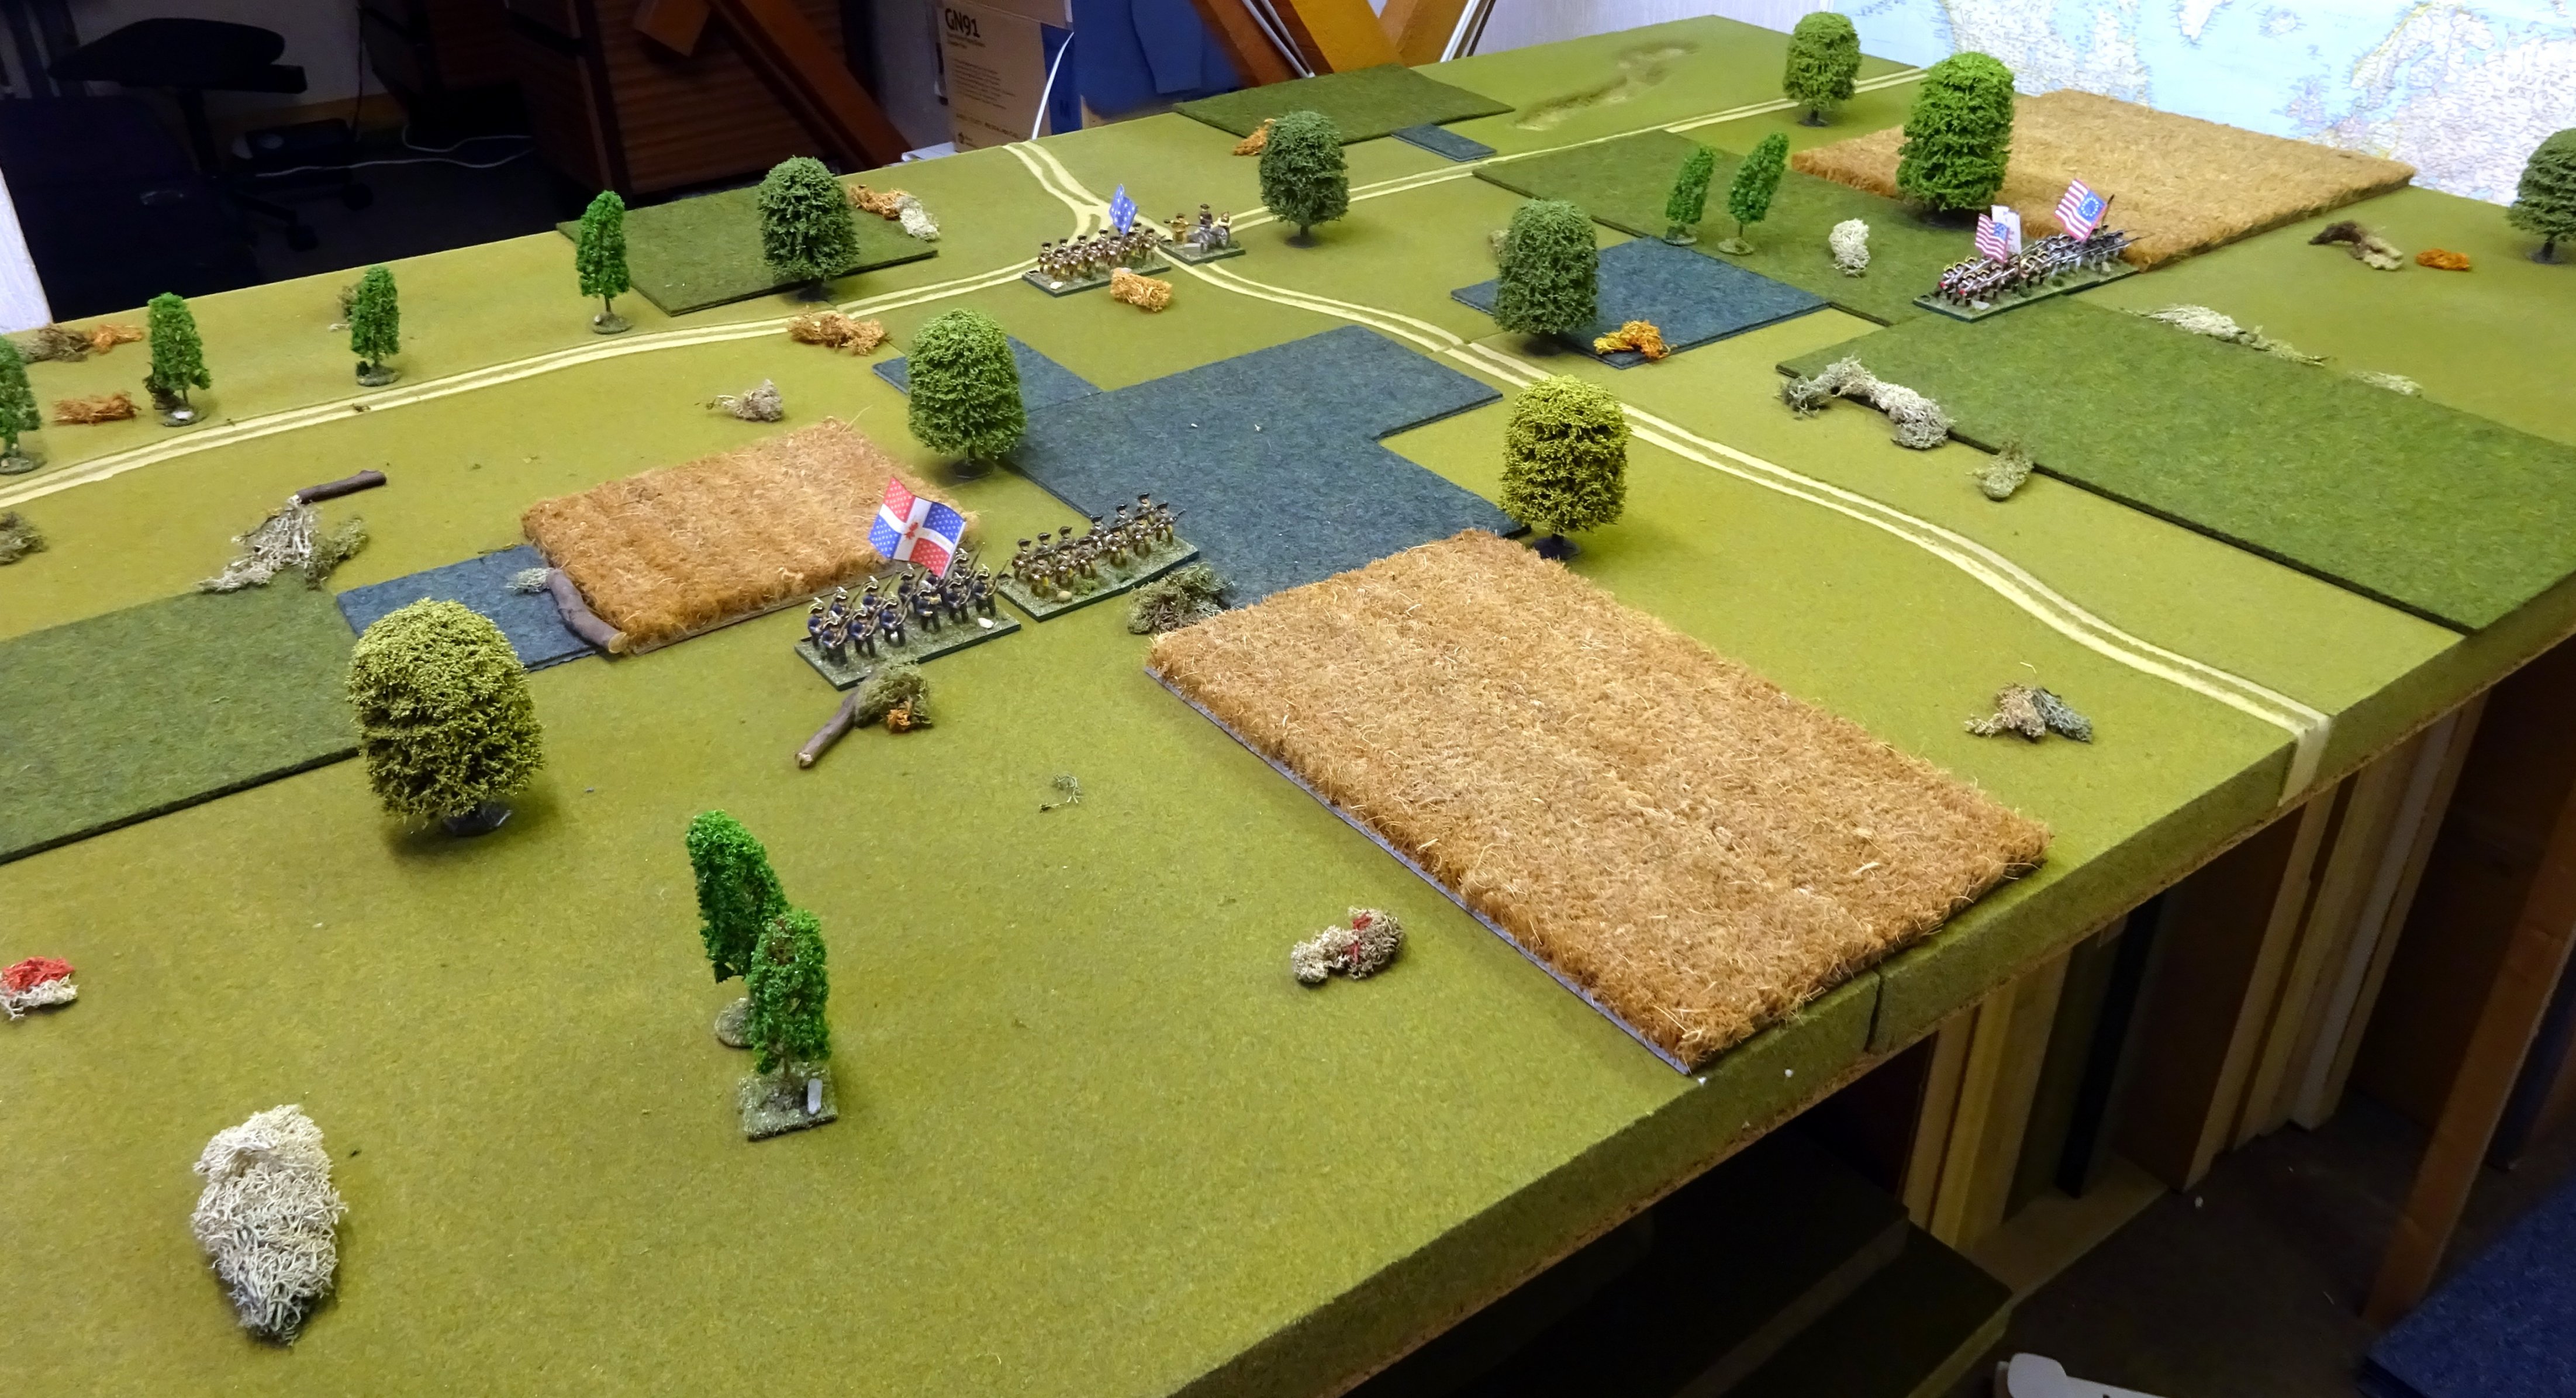 |
| A crossroads - American reserves enter from top - forward positions in place.. British deploy within 4" of the bottom table edge.. the table is flat - no hills and the fields are purely for visual effect - no impact on movement/visibility.. |
 |
| An Anglo Hessian "piledriver" (a pfahlramme apparently) - as you can see I opted to go for the American forward position on the right |

- the brigade under attack retiring on the crossroads
- the brigade at the crossroads moving to support them directly, while
- the second of the two forward brigades pivoted with the aim of launching a flank/delaying attack on the exposed Anglo Hessian right
 |
| End turn 4 and under the watchful eye of Lofty C the American flank attack is forming to the left while the first American position has been driven in.. the British reserve battalions are moving to cover the flank |
 |
| End turn 5 |
...and so it transpired - as one Hessian regiment bravely charged the gun in order to take it out of the equation before the imminent arrival of the American reserves - and was handled badly - one of the two routing American battalions recovered and poured in a withering volley on the 17th Foot.. both Allied Battalions now shaken, and also on worrying strength levels...
 |
| End Turn 8 and look at the massed horde of reserves... |
..and then to rub dirt into the wound, both those Allied battalions fail morale checks and rout, allied firing is ineffective, and with a whoop that could clearly be heard across the table the American 4th Dragoons put spur to flank and charge into the side of one of the two routing regiments causing them to surrender, and then (almost unheard of) the other routing Allied Battalion is found to be within their second charge reach - it throws successfully to not surrender (brave boys!) but fails a test to stand (unsurprisingly) and dies to a man were they stand - the Dragoons triumphant.
 |
| End Turn 9 - very, very, messy for the Allies |
- a crushing victory for the Americans, but to be honest that is a very difficult scenario to win for the Blue/Attacker - the size of the battlefield is such that the three outposts can fairly easily reinforce each other, which gives them a strength of 6 to 8 fairly quickly - more than enough to fight a delaying action until their other 6 units arrive on turn 8. Even if none of the defenders survive, when the reinforcements arrive it will be 6 fresh against whatever is left of the attackers 8
- alternative tactics?
- The attacker could consolidate and 'defend' - it's 8 vs 12 but it's always difficult to press home an attack on a stationary defender, but the scenario calls for you to take the crossroads to win, and the defenders already have it, so at some point you will need to attack/advance
- attack both forward positions at the same time so no flank defence is possible?
- I think the Allied plan was good but one of the other unintended problems with doubling up units is being able to concentrate or focus the "pfahlramme" (😏) of a large force on a comparatively smaller one - put simply, only a third of the piledriver could get close enough to do any damage the others were either too far away or blocked by their compatriots! 😀 The second of those two "alternative tactics" would address this problem?
- The Allies were badly in need of some cavalry - but that's the luck of the dice
- Scenario modifiers?
- at the risk of going on about it (but I will 😁), the forces in the book are 6 vs 4 (initially 3 vs 4), so doubling up does give the attacker an extra (unfair ?) advantage (instead of two they have four extra units in hand), I suspect I have badly skewed it in their favour by doing this, and what I should have done is prorated the increase in each side in some way, so as to maintain a narrower advantage. Perhaps maintain the two unit advantage so give the Allies/defender another couple of units making it 12 v 10 (rather than 8)
- there is no benefit of surprise for the attacker - it might be worth considering giving them a one or two move benefit before the Americans can move but with firing allowed
Nice to see the AWI chaps in action again!
ReplyDeleteThanks David - yeah - this is my main period to be honest - if I could only have one it would be this one as much as I love the other periods as well..
DeleteAgree with David. Much as I enjoy your city walks and unit profiles, your games just pip them. This one sounds as if there is a great deal of replay possibility. I am sure it will be just as much fun if you do play again. A good looking table as well.
ReplyDeleteThanks Jim - going to see if i can find a few hours to try some alternatives this week..
DeleteGreat to see the collection out once more. Looks like fun was had which is the whole point whatever the result (I tell myself that a lot in my games!).
ReplyDeleteCheers Matt - yes it was good fun - even though there was this horrible sense of fatality from about turn 6 onwards! :o))
DeleteIirc Disordered Defence is based on Shiloh(?). I pinned the defenders in place fo the first few turns with various caveats about spotting enemy units etc. It is a tough scenario for the attacker in any case, particularly using the original OHW rules as they reward mass so much.
ReplyDeleteWell remembered Martin - yes indeed - and the Rebs (as attacker) lost that one too, so my result was at least historical!
DeleteA very enjoyable outing and another thumbs up for OHW. i note that the next release for Warlord Games’ Epic system is Revolution, due out next month. According to their site you can buy the black powder Epic AWI Revolution booklet separately, it might be worth phoning them to see how many scenarios the book carries.
ReplyDeleteThat looks a great game, if 'challenging' for the attacker! Reminds me there are still loads of the OHW scenarios I have not tried yet, and they are always interesting..
ReplyDelete